Cropping and resizing
Do both
When preparing an image to particular dimensions, remember to crop the original image to the same proportions first, otherwise the image will be distorted.
Crop to proportions (ratio) then resize to dimensions.
For example, if you have an original image with dimensions of 500 pixels wide by 600 pixels high that you need in a version of 150 pixels wide x 100 pixels high:
- crop the original image in an editor first, to proportions of 150:100 (the same as ratio of 15:10 or 3:2)
- resize the image to 150 pixels x 100 pixels
Cropping and resizing images to particular dimensions is necessary for creating Banner images for Landing Pages and other Media Library items for use in Content Types.
After cropping and resizing, the image should be optimised when saving for Web use.
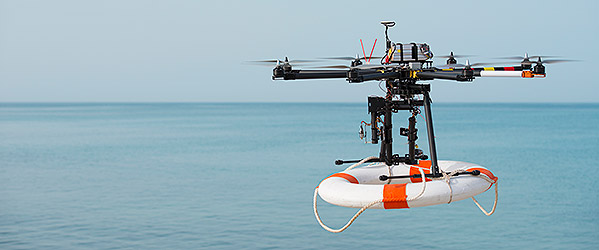
Original image 600 x 250 pixels (ratio of 12:5)

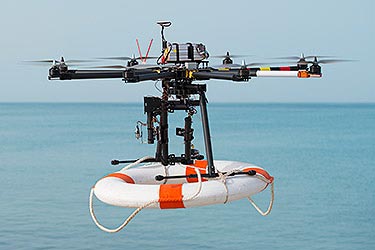
Crop part of image for ratio 3:2 result

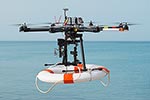
Resized to 150 x 100 pixels - same ratio
Correct - not distorted.

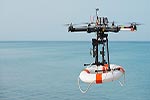
Resized to 150 x 100 pixels - without cropping
Wrong - the ratio goes from 12:5 to 3:2 and the image looks squeezed:

Resized to 320 x 100 pixels - without cropping
Wrong - the ratio goes from 12:5 to 16:5 and the image looks stretched:

Always reduce image dimensions during processing
The image below is wrong - a smaller image has been resized to become a larger one. Images should always be resized smaller than the original pixel size. Otherwise the image will look degraded.
![]()
How to crop and resize to exact dimensions in Adobe Photoshop
Use the Fixed Ratio style for a Rectangular Marquee to crop to a specific ratio.
These instructions are based on Photoshop Creative Cloud v19.1.7 so may differ slightly across versions, but the principle is the same. Other image editing programs may have similar functionality.
Crop to proportions (ratio)
On the Window menu option, ensure Options and Tools are checked to display:
Choose the Rectangular Marquee tool.
Ensure Feather is set to 0px.
Select Style: Fixed Ratio
Enter the Width and Height of the ratio required.
This may be equivalent to the target pixel size - eg 200 x 130 for Course Quote Images - or it may be simpler, like 1x1 for a square image. Divide the numbers if they're too big for the input box - for example, large versions of Static and Scrolling Banners use an image size of 1630x588 which can be entered as 163 x 58.8
Select the area of interest then Image > Crop
Resize to dimensions
Now the image should be resized to the specific pixel dimensions - it should always end up smaller than the original.
Select Image > Image size
Enter the required Width and Height with unit Pixels.
For the Resample setting, use Bicubic Sharper (Reduction). Resolution doesn't matter.
Now see Saving images for Web.